
(Tutorial video is attached at bottom of article)
Archiving the video
You will receive an email from Zoom giving you access to the recording. This video will only be housed in Zoom’s cloud storage for a short time, so we will need to move the video to our Office 365 cloud storage.
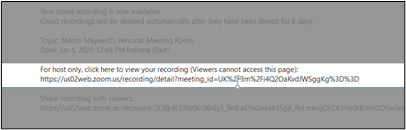
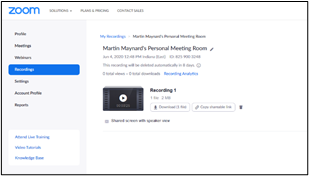
1. Copy and paste the link given to you in the email into a separate browser. This link will take you directly to the Video Archive page for that recording.
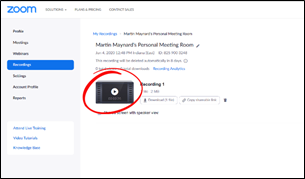
2. To make sure you have the correct video, you may click the video icon to view the video.
3. Once you have confirmed it is the video you want, click the “Download” button and jot down the name of the file for later use.
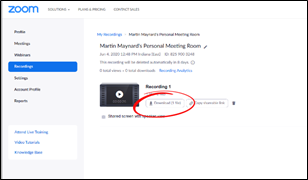
4. Once the textbox appears, select “Save” and then click “OK”

This will save the video to the Download folder of your local computer.
Upload to LMS Documents on OneDrive
1. Go to www.office.com and log in with your CBD credentials and select OneDrive

2. On the upper left panel, choose “Shared with me” *EDIT* As of 6/15/2020, you may see "Shared" _ instead of "Shared with me"
![]()
3. Then click "LMS Documents"
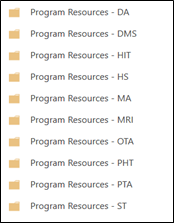
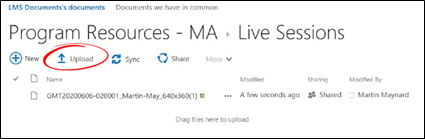
4. Select your program’s resource folder and then click on “Live Sessions”
5. Pull up your Windows Browser and navigate to the “Downloads” folder and find your video.

6. Here, all you need to do is to drag and drop the video file into the upload zone of the resource folder in LMS Documents.
7. If you prefer, you can also click the “Upload” button and manually select the file.
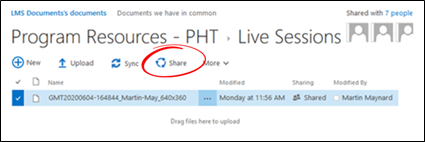
8. Next, move your cursor to left of the file name and click the checkbox.
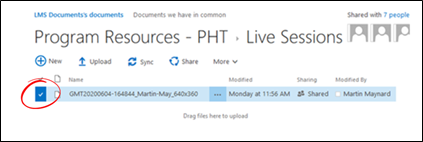
*EDIT* As of 6/15/2020, you may see this format

9. Click on the “Share” button, then on “Get a link” from the textbox that opens.
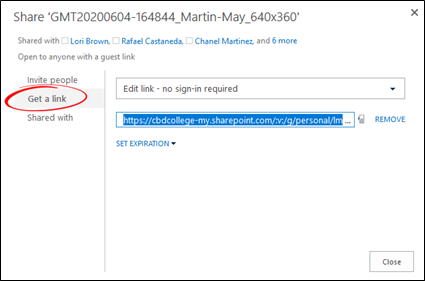
10. In the drop-down section, select “View link – no sign-in required”

*EDIT* As of 6/15/2020, you may see this format
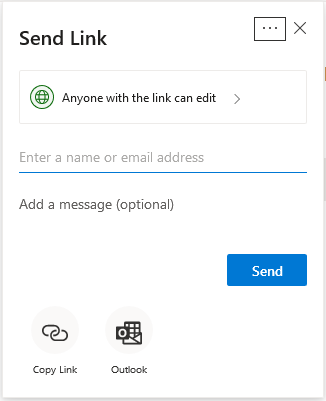
If you see this format, follow the directions below It is important to click the button to turn off "Allow Editing", which translates to "edit only" in the other format.
11. Now, right click on the on the link and “Copy”
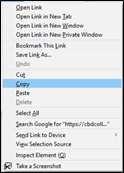
This is the link that can be emailed to students so they have a link to the archived video, not the video stored on Zoom.
Do not share this link in the Moodle Course or send it to ALL students. Your students will need to specifically ask you for the link as viewing the video will not count them as present in the attendance. You will need to do this separately. If all students have access, they could view it without your knowledge and not get the attendance credit they deserve.
Record Keeping Form
The next step is to copy the link into a record keeping form which can help find a particular video later when you have numerous videos to sort through.
1. Navigate to the form located at https://forms.gle/QQikoxqfpHxNiWui6.
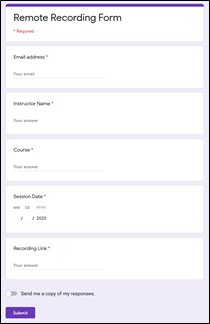
2. Fill out the requested information including your name, your CBD email address, as well as the course information. At the bottom of the form, paste the same video link from OneDrive into the space provided.
Doing these steps guarantees the video file is archived properly and logged for future reference. We have many Zoom meetings videos being produced daily, and we want to make sure all resources are available to our students.
Comments
0 comments
Article is closed for comments.